We like to share product recommendations with you and hope you like them! Just to make you aware Water Filter Data may collect a small share of sales or other compensation from the links on this page.
Water softeners usually don’t require much maintenance. But cleaning a water softener properly is an important thing if you want to keep your water softener running smoothly. If you find that your water is taking longer than usual to soften, or the softening cycle doesn’t seem to be completed properly, there may be maintenance issues that need attending.
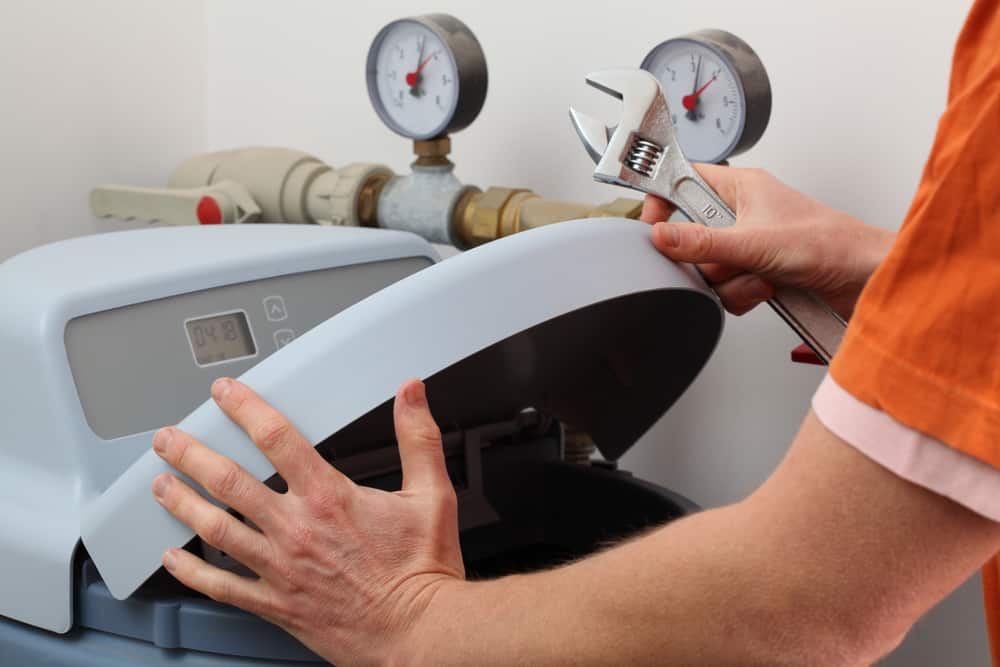
Having problems with your water softening system?
No space for panic, in this article we are going to check some of the most common issues and solutions. Though water softeners are small appliances, they typically contain more than one component. Here’s what you need to know about each aspect of the system.
Maintaining The Brine Tank
Your softener needs salt from time to time and the brine tank is what supplies this chemical softener. The brine tank supplements the softening process by adding sodium chloride to your water and flushing leftover calcium and magnesium from your softening unit’s resin. The device is filled with tiny resin beads that are coated with sodium. The beads attract and trap positively charged minerals. To maintain the charge and balance in the water, resin releases sodium to replace them.
Your brine is a critical part of the softening process. It’s pumped into the softening tanks to help soften your hard water. Brine is made up of sodium and chloride ions, making it easy for your reverse osmosis units to do their job. In turn, they get clearer, cleaner water out. Salt and water from this tank pass through the softening tank to clean away the minerals and replace the sodium. To ensure the brine tank completes its important cleaning job properly, you need to do a few maintenance jobs. We’ve found three things to be really helpful:
Topping up the salt
If you want to make sure your salt levels are optimized, here’s what you can do.
- Check the salt level in the brine tank about once a month, or according to your manufacturer’s recommendations. As a general rule, don’t fill the tank more than about two-thirds. Don’t do this, because it might lead to a salt bridge and a short circuit.
- Follow the instructions in your owner’s manual on what kind of salt to use if you’re unsure. Some systems require crushed block salt, while others accept only tablet or pelletized salt.
How to clear a Salt Bridge
A salt bridge is a solid layer of salt that forms on the top of your brine tank. When this happens, it stops the salt from mixing with water beneath, and you’ll be left with hard water.
There are some indications that you have a salt bridge:
- The salt level doesn’t decrease as you would assume it to.
- If you notice cloudy watermarks on your shower screens or dishes or an unpleasant taste of the water, it’s possible your water isn’t being softened correctly.
The best way to avoid salt bridges is to make sure you don’t overfill your salt tank. Do regular maintenance of your softeners to make sure you are using the right kind of salt. Sometimes humidity and temperature play a role too.
This is how you can clean up a salt bridge :
- You have to turn the water off, either from the faucet (you can squeeze the handle of this valve) or by pulling the latch/handle for both valves on top of the tank.
- Use a broom with our mop or disposable scraper and tap on the top of the crust until it cracks. Also, be gentle not to damage the walls
- Simply scoop the loose salt pellets out of the brine tank using a plastic container.
- If you notice the salt crust becomes dried and crusted, use a clean kitchen mallet to gently tap away from the excess from the edges.
- Carefully dump the salt onto a plastic container and ensure that all the broken-off salt pieces/chunks are removed.
- Remove the water left in the tank: Scoop out the remaining water in the tank. You could also use a wet/dry vacuum to do this.
- Now when you do all of the above you can follow the instructions on your refill container for adding salt and water to your softener tank. Once you’ve refilled your tank, all you need to do is press start.
Warning
Hammering at the side of a fuel tank is never a good idea. You may damage the tank, use plastic or some proper tool instead.
Salt Mush
This happens when salt recrystallizes after dissolving in the water used to cool down the evaporator, forming a layer of sludge at the bottom of the brine tank. It prevents the salt from mixing with the water.
This can prevent the softener tank from regenerating and can cause the water level in the brine tank to rise, eventually overflowing
- Remove any mushy salt from the brine tank with a plastic container, without damaging the tank.
- The salt you take out of the tank can actually be used again. To do so, put some hot water in the bucket and dissolve the salt in the hot water before putting it back into the tank.
How To Clean The Brine Tank
Every once in a while your brine pot’s filter will need to be cleaned. Check with the manual on how often this should be done. For newer models, it’s about every five years, but for older ones, maybe once each year.
You might notice the brine in your tank looking dirty; this is a good indication it needs a clean. The easiest way to fix this is by using DYL Freshwater Buffer and changing the water in the tank. Over time, some of these impurities can clog and damage your system, so it’s better to have an easy solution on hand.
If you notice that the brine tank is running low on salt, it might be a good idea to clean it. This way you won’t have to scoop out lots of salt from the bottom of the tank, and the tank will also be lighter to carry if you want to move it somewhere more accessible.
Check the steps below if you attend to clean the tank:
- You should periodically clean your softener to keep it in top condition and ensure it’s working properly. If you have a bypass mode on your softener, engage this, so water bypasses the softener system while you clean. If not, turn off the water via the incoming faucet. Disconnect the hoses between the brine tank and the softener tank.
- To remove the brine solution, simply attach the hose of a hose or tap at the base of your bin and drain it into an open area such as a garden bed. Take care to choose an area that will not be damaged by excess water.
- You can remove the remaining salt from the tan using a plastic container
- Some brine tanks may have a grid at the bottom of the tank. Remove it if there’s one in place.
- Add 2-3 tablespoons of dish soap to a couple of gallons of water.
- Put the soapy mixture into your brine tank and then use a brush with a long handle to scrub the inside of it.
- When you’ve finished scrubbing, empty the soapy mix and rinse the tank with clean water.
- Start by adding 2–3 gallons of water and 1/4 cup of bleach. Mix them together and then leave it for about 15 minutes to do all the cleaning. When you decide to empty the mix, try scrubbing again.
- Allow the bleach and water mix to do their work in your tank. You may want to wear gloves during the process, as they will help protect your hands from coming into contact with a potentially harsh solution. Rinse it good
- Pop your brine tank back where it came from and reconnect all the hoses.
- Don’t forget to restore the water supply to your tank.
- Again follow your manufacturer’s directions for refilling your tank with water and salt.
- You’re done! Congratulations!
(To prevent salt bridges, don’t overfill your brine tank with salt. It should be about two-thirds full, and the salt should be above the waterline.)
After you’ve added water to your softener, set it to run a regeneration of the softener tank about 24 hours later. Don’t do it immediately; the salt and water won’t have had enough time to mix to form the strength of brine needed to clean the resin.
Maintaining The Softener Tank
A softener tank is a magical place where your hard water problems disappear. That’s where the special resin beads that soften your water are stored. It’s much like a battery, only better. It’s also where the backwashing takes place.
When you regenerate your system, the resin beads are recharged with clean sodium from your brine tank. The cleaner that comes with your unit is available for regular use and can help keep your resin beads working as they should.
This could be the case especially if your supply is from well water. It can contain high levels of iron and other contaminants, which might not be removed during the regeneration process. This will mean your water softener could lose its efficiency.
We designed a salt-based system to easily remove resin deposits from your system. Just add these products to the salt, and they will be dissolved and carried out as the system regenerates.
We’ve compiled a list of our most popular cleaners by looking at various sources, and this review page is the result.
- Rust Out: This is a popular product for a one-off clean. It can also be layered with your salt to clean every time the tank regenerates.
- Iron Out: Another popular water softener resin cleaner and is currently “Amazon’s Choice.”
We suggest that you add some extra rinse cycles, just to make sure that the minerals have been removed from the machine. If you want to be sure they have all been removed, you can set a second regeneration manually to rinse out the softener tank.
The valves in a water softener and maintaining them
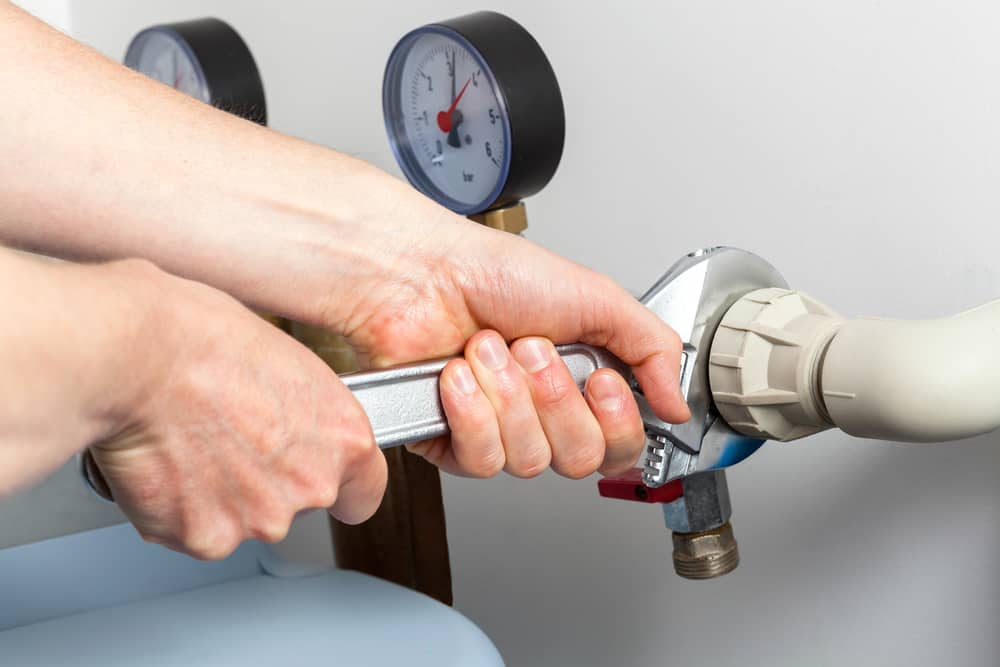
You have a water softener, which means you need to run it on a regular basis to ensure good quality water. There are some valves within your softener that will need occasional attention.
- Bypass Valve
The valve temporarily switches off your incoming water supply. It’s a rod that you can push to turn off the flow of water.
As for maintenance:
- Turn supply off: Push the rod to turn the supply off.
- Reset: Turn the uptake and intake valves off and back on.
- Turn supply on: Finally, push the bypass valve back to the on position.
- Venturi Valve
The venturi valve is an important part of your softening system. It helps recycle the water by sending it from the brine tank to the softener tank. If it gets blocked up by sand or dirt, then your system simply can’t work properly.
As for maintenance:
- Use soapy water: Unscrew the cover, remove the parts inside and clean them with soapy water.
- Rinse and reconnect: Once you’re done, rinse them and put them back together again.
If your water is coming out hard and you have performed the maintenance items listed on this page, please verify that the following items are checked again before calling for service.
- The Bypass Valve: Make sure it’s open, and water is going through the system.
- The Timer: Check that the regeneration timer is set, so your system is flushing when it needs to.
- The Hoses: Make sure that the hoses in your system aren’t kinked. If they are, water won’t be able to get through.
- The Computer display: Look at the wires for any sign of wear, and check the fuses. Make sure that the power is switched on.
If you tried all things above and the device is not working properly then it’s time to call professional service and let them do their job instead.
Conclusion
It’s a pain to take apart and put back together all your water softener’s parts, but it’s well worth your time to do it. Cleaning your unit well is a good way to save money on salt, electricity, and labor in the long term.
Tune-up time is a good time to pay attention to your plumbing as well. Keeping the lines clear is about more than preventing overflows and expensive repairs. It also means fewer hassles for you. When water flows freely, you save energy, too.